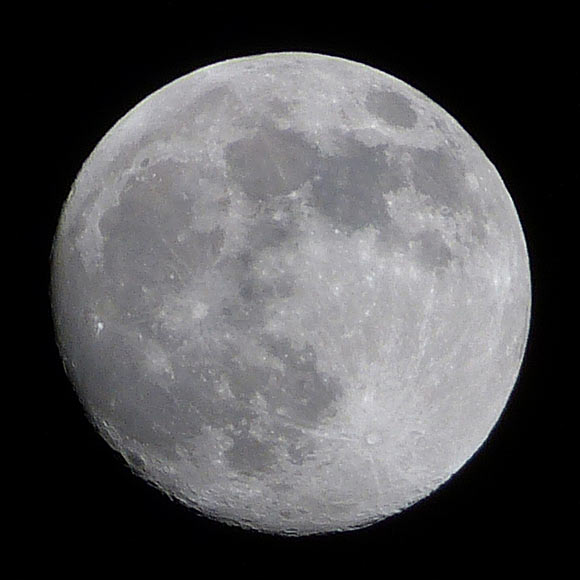
600mm, P, Spot, ISO 100, 1/320 sec., F5.2, Cropped, Resized, Sharpened
EQUIPMENT
- Camera: preferably a superzoom with manual shooting modes or a DSLR/DSLM with a long telephoto. In this example, I used a superzoom with a maximum focal length of 600mm [35mm equiv.]. Even at this long focal length, the moon will only occupy a small portion of the total image.

The Panasonic Lumix DMC-FZ150 pictured here is a superzoom with 24x optical zoom with an ultra wide angle of 25mm to a super telephoto of 600mm [35mm equiv.]. You will find equivalent models from Fujifilm, Nikon, Olympus, Canon, Samsung and Sony.
- Tripod: at this long focal length, the simple act of pressing the shutter release button will introduce enough camera shake that will translate into a blurred image. You won’t be able to hand hold the shot (at 600mm, you’ll need a shutter speed of at least 1/600 sec. or faster to handhold). I did not have a tripod for this shot and used the roof of my car to stabilize the shot.
- Remote Shutter: if you have this option, great, otherwise use the self-timer (set at 2 or 5 sec.).
SETTINGS
- Shooting Mode: it depends on the camera and the accuracy of its light meter. I found that on some cameras, I could simply use Program AUTO (P) for accurate exposure, while others required Manual mode and a bit of experimentation with the shutter speed/aperture values to hit the perfect exposure.
- Exposure Metering: Spot. You want to meter the moon itself and not the black sky all around it. If you use matrix, evaluative or centre-weighted metering, you will include a large swath of the black sky. The meter will overexpose the moon and you will lose the detail on the surface of the moon. In the above shot, I used P mode and Spot metering, and the camera selected a shutter speed of 1/320 sec. and an aperture of f/5.2.
- ISO: 100 or smallest the camera allows, for the best image quality. Use too high an ISO and you introduce ugly noise in your image.
POST PROCESSING
- Crop: As indicated, you will probably not be able to fill your screen with the full image of the moon (unless you have a really long telephoto lens). Here is what I obtained at 600mm:
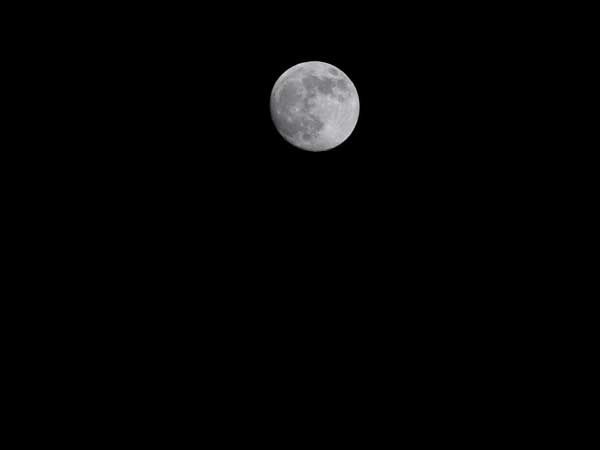
As you can see, even at this long focal length, the moon only occupies a small portion of the sky. - Sharpen: in an image editing software (here I used Photoshop Elements), sharpen the image to your liking. I simply do Enhance-Unsharpen Mask-Amount: 50%, Radius: 2 pixels, Threshold: 12 levels. However, you should play with those settings to see what looks best for your photo.
There you go! Try your hand at shooting the moon and send us your pictures! We’ll publish the best (be sure to include your camera equipment and settings).